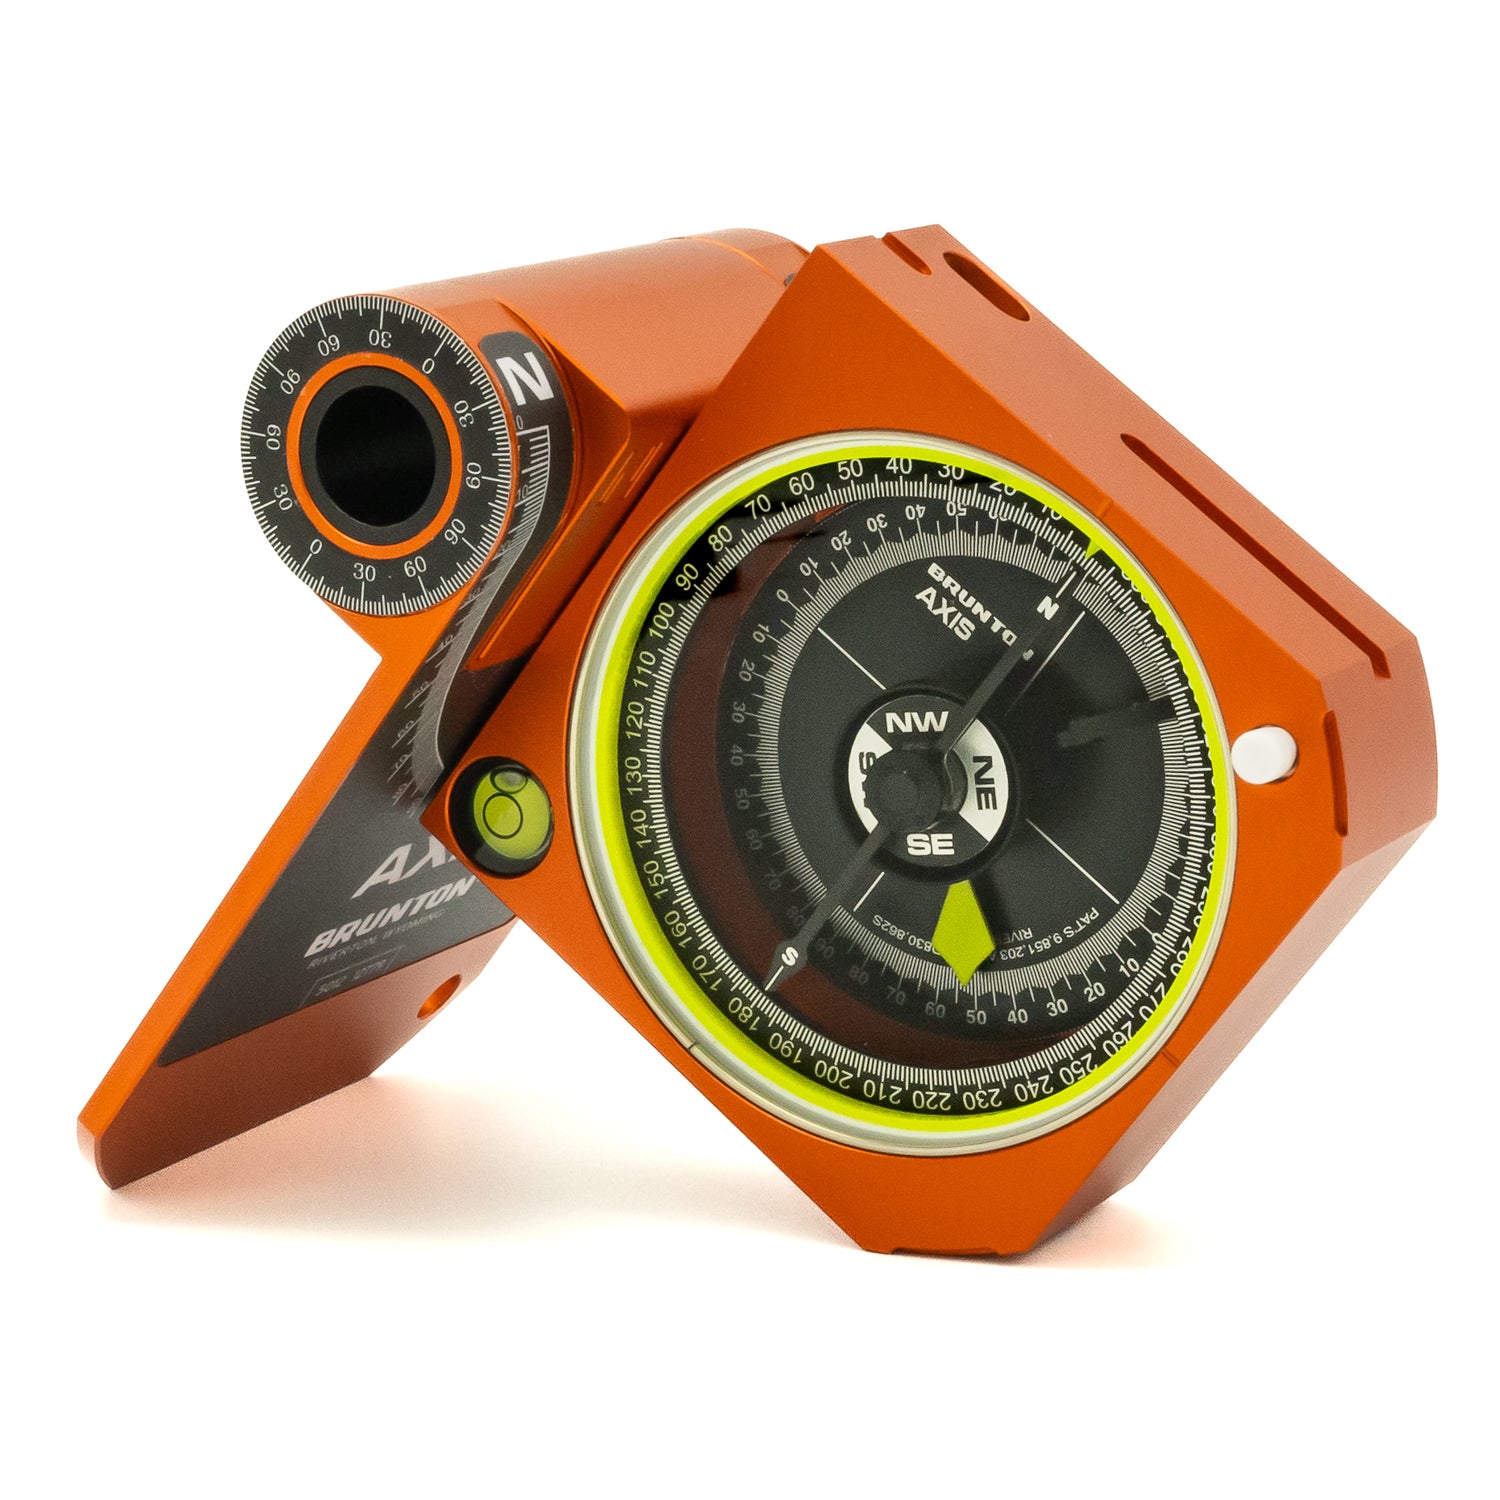
Here at Brunton, we think you should always have a navigational compass on hand, but that can't always be the case. That’s why it’s important to know how to make one.
Whether you’re hiking or backpacking in the backcountry, there’s no doubt that a navigational compass comes in handy. You don’t have to be in a survival situation to reap the benefits of a strong navigational tool. Maybe you’re just trying to find a route on a map, or pinpoint a specific peak. Either way, orienteering is a great skill to have with the right tools.
But what if you're without a compass?
There are situations where you could have lost your compass or forgotten to pack it with your camp gear. Depending on the situation, that might not be a huge issue. You might already be familiar with the area and know where to go. If you don’t, it’s time to break out your MacGyver skills and make a compass.
How to Make a Navigational Compass
Sounds impossible, right? Luckily it’s not, if you have the right materials.
What You Need:
- Metal sewing needle or wire
- Magnet (This can be a refrigerator magnet)
- Multi-use tool like a Leatherman
- Water
- Flotation (This can be a piece of cork or even a leaf)
Instructions:
- Take your magnet and rub it against the needle or wire in the same direction for about 12 times
- If you are using cork, cut off a thin disc shape from the end of the cork
- Push the needle through the thin cork disc so that an even amount of the needle is on each sides of the disc
- If you’re in the backcountry, and don’t have a cork, place the magnetized needle on a leaf instead
- Put the cork or the leaf in the water–the magnetized needle will move toward magnetic north
Watch National Geographic’s Brian Brushwood demonstrate how to make a navigational compass from a dead cell phone in the backcountry:


